You can't go wrong with these art activities for seniors
There are many reasons why doing something as simple as art activities is beneficial to seniors, as well as older adults and families. Arts and crafts can bring people of all demographics and age groups together.
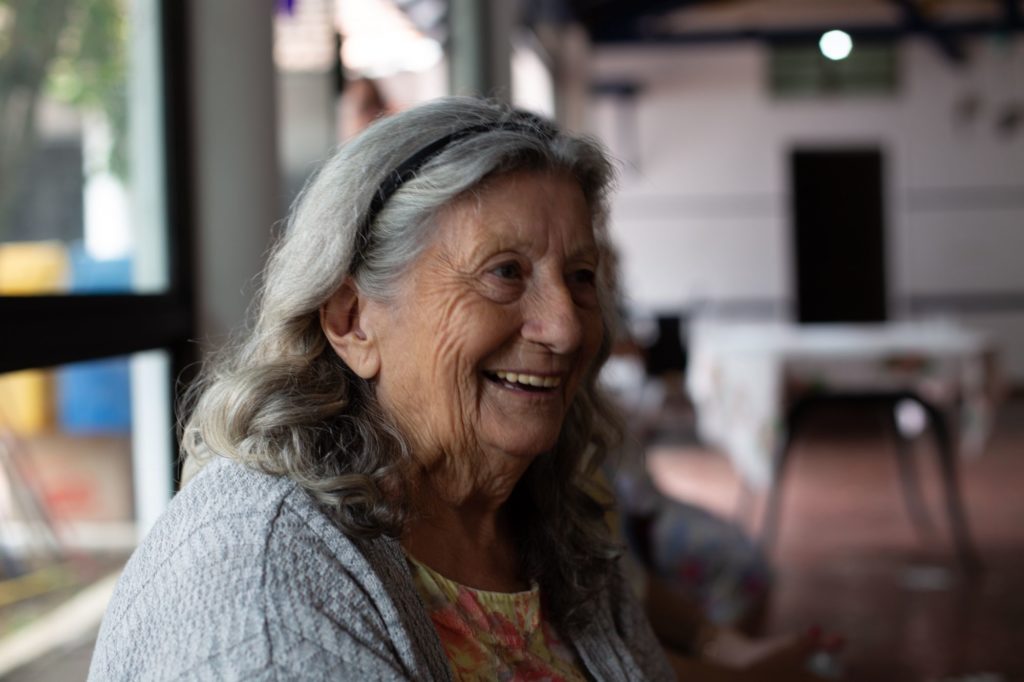
Spending time doing an activity with friends is a great way to combat loneliness. Plus, when you use your mind to be creative it can boost your mood.
It also helps you take a break from the stressors of everyday life while forming meaningful connections with others. Creating these kinds of connections makes everyone feel valued and loved.
Simply stated, people love doing arts and crafts together.
If you have a "crafty" companions in your life, or if you work as a Papa Pal companion caregiver and want to share your love of arts and craft with others, scroll down for some easy art activities for seniors.
Enjoy fun and inexpensive art activities for seniors
These activities have at least one (if not more) supply list items that you may already have around your house. So, take a look and get creative. You may be able to reuse and recycle in your own home.
#1 No Sew Rice Bag Heating Pad
Supplies:
- Rice
- Fabric
- Long sock (this is a great way to use single socks)
- Decorative ribbon
- Optional: essential oils
Instructions:
- Fill the sock with uncooked rice using a funnel
- Squeeze the rice down as you go
- Tie off the other end when the sock is full. You are done!
- Optional: add essential oil AFTER the heating pad is heated
Extra tips:
- Use a big and tall tube sock, one that doesn't have toe seam color, or heal color
- Tie a knot at the toe end then cut a small amount from the end of the sock, past the knot, and add ribbon, so it will match the open side when you're finished
- A long sock will hold about 6 cups of rice
- Heat time starting at 30 seconds; add more time as needed
#2 No Sew Pom-Pom Pumpkin Garland
Supplies:
- Orange yarn: use different shades for variety
- Green yarn
- Fishing line or twine (if you just want the pumpkins to add to a table or bowl for decoration, you won't need this)
- A book, about 7 in. in diameter
- Scissors
Instructions:
- Wrap orange yard around book; around 100 times should work
- Slide yarn carefully off, making sure to keep its circle shape intact, then set aside
- Cut 4 strands of orange yarn at 12 in. each
- Use those 4 strands to tie around the circle of yarn. The location of the ties should be 12:00, 3:00, 6:00 and 9:00 if looking at the yarn circle like a clock. Leave the tails of the knots long, they will be used again in a minute.
- Now, using scissors, cut in the in the middle of the sections that the ties created, leaving you with 4 pieces that will become your pumpkins
- Use the long “tails” to hold the section and trim it into an even ball shape; you're creating your pumpkin shape here, set aside
- Cut 8-12 in. green yard strings
- Place 2 green strings on top of the orange knot tied around pumpkin and use the “tails” to knot green pieces into place
- Gather up all 4 strands of green yarn, pulling them upwards, and tie a loose knot in what is now your stem, after knotting cut to desired height
You can stop here if you're using them for table décor, making up a fun pumpkin game, or working on tossing and catching for hand coordination. If you'd like take it to the next level, make garlands. You'll repeat these steps until you have enough pumpkins to make your garland to desired length; these directions make 4 pumpkins each time.
How to make a garland:
Take your fishing line or twine and cut small pieces, just long enough to tie under and around the stem, making a hanging circle to slide onto the garland string. You can then make the garland string your desired length. The loops on pumpkins will make them easy to slide on and move around. For a fun addition, you can make ghosts and spiders to sprinkle into garland too, they have many cute pom-pom fall and Halloween options.
#3 No-Fail Tile Coasters
Supplies:
- 4x4 inch tiles: you can get them at Home Depot or Lowe's (some as low as 16 cents each) or online. You can also find different quantity craft sets with the tiles and no slide cork backing ready to go on amazon.
- Your desired decoration for top: scrapbook paper, pictures of loved ones or favorite places, newspaper, sheet music, favorite poems. The possibilities are endless!
- Mod podge, which can be purchased or, very easily and cost-effectively made out of Elmer’s glue and water (instructions here)
- Small sponge brush/es
- Scissors
- Pencil or something to trace the tile onto paper/picture
- Felt or adhesive cork sheet for non slip coaster backing
- Waterproof acrylic sealer spray
Instructions:
- Flip tile upside down and trace the tile sized onto desired top decoration, such as a picture or scrapbooking paper.
- Apply mod podge to the back of your paper or picture with a sponge brush. Press down. Allow to dry completely before going to the next step.
- Apply a layer of mod podge, again with sponge brush, to the top of the paper/picture. Try to use left to right swipes, top to bottom. Allow to dry completely.
- Repeat step 3 twice more allowing each later to dry all the way.
- Make sure you rest the coaster on something you don't mind getting messy, like parchment paper or old newspaper.
- You will then take your waterproof sealer spray and go over the coasters with a strong sealant coat. This ensures the coasters are waterproof. Otherwise, your picture or paper will get warped and bleed when drinks create moisture or you have a spill. The suggested number of coats is 4 or 5. Allow each to dry fully before the next coat.
- Allow to dry; overnight may be the best plan
- Glue or adhesive the backing on.
Other variations that are also super easy include hydro-dipped coasters, and sharpie and rubbing alcohol coasters.
#4 Colored Sand Mosaic Terrariums
Supplies:
- 8-12 oz. Mason jars, glass jars from Goodwill, cubed clear vases from flower deliveries, or something you have laying around: Go on a “craft supplies scavenger hunt” throughout your house.
- Sand (or very small stones: You can buy this pre-colored or dye it yourself. The pre-colored type will have longer-lasting color.
- An air plant or succulent. Air plants are much easier to take care of as they don't need much attention.
Directions:
- Fill your jar with your chosen (or found) sand, rocks or soils, or a combination of the three, until you have about an inch or two of space to the top.
- Add your air plant.
- Enjoy!
#5 Embellished Picture Frames
This is not only fun to make and personalize but it's also a way to surround yourself with pictures of loved ones or wonderful memories.
Supplies:
- A frame: choose whatever shape, color and size you want. You can buy one, but you can also take a few minutes and look around your house. Every household probably has one frame, at least, that isn't in use or could use a fun upgrade.
- ANY assortment of embellishments. This is the fun part. Look around for things that are special to you, or the picture memory, or that you just think would look cute. For example, use buttons, shells, beads, stones, faux flowers, and more.
- Craft glue or hot glue gun and glue
- Optional paint if you want to paint your frame and mod podge for top as a sealant
Instructions:
- After gathering up your supplies, take a minute and make some decisions. For example, do you want to paint your frames, how do you want to lay out your embellishments, what kind of creative choices are you making?
- Clean your frame by gently wiping away dust.
- Start gluing down your personalized decorations and have fun with it!
- You may stop there or you can apply a coat or two of mod podge as a sealant (the instructions on how to make mod podge yourself are above in the tile coasters craft).
- If your frame has glass, use a glass cleaner to wipe down both sides. Wait a few minutes for it to dry before adding a photo or other print.
And that's it! We hope you have had fun taking time to make these easy art activities for seniors and people of all ages. Think of some creative ways to customize them just for you and your companions.
Art activities for seniors aren't just for fun
Arts and craft activities are an easy way to have fun and form connections, but they also can help seniors and older adults re-engage their creative sides and build manual dexterity.
Here are some of the reasons that art activities are a great addition to a daily routine:
- Arts and crafts can be a fun distraction from “real life” and help people feel relaxed and productive.
- Crafts provide an easy way to socialize with others either 1-on-1 or in a group setting.
- Successful completion of a project increases self-esteem.
- Projects often eliminate feelings of boredom and loneliness that quite are prevalent, especially during pandemic times. For example, a national poll conducted by the University of Michigan in 2020 indicated that more than half (56%) of older adults reported feeling isolated from others.
- Art activities, and the company they bring, can also support mental health. For example, they can improve mood and relieve stress.
- Working with your hands is a good "workout" for dexterity.
Become a Papa Pal companion caregiver and share your love of arts and crafts
If you're looking for part-time, flexible work, and want to work with seniors, older adults, and families, consider becoming a Papa Pal.
Papa Pals support fellow community members with things like companionship, activities, help around the house, shopping, and transportation. They don’t provide medical care.
As a Papa Pal, you can create meaningful connections with others and make a lasting, positive impact.
If the possibility of a caregiving job sparks your interest, click here to learn more about becoming a Papa Pal.